.avif)
How to Apply for a German Student Visa via Consular Services Portal 2026: Step-by-Step Guide

.webp)
Introduction: Your Path to Studying in Germany Starts Here
Germany continues to be one of the most popular destinations for international students - in fact, over 90,000 study visas were issued in 2024 alone, according to the Federal Foreign Office statistics.
As of January 2025, the German government introduced the Consular Services Portal (CSP) - a fully digital system for submitting long-term visa applications, replacing the old paper-based method where applicants had to bring all documents physically to their visa appointment.
The CSP is a major step forward in simplifying and digitizing the student visa process. However, it is not yet available in every country. CSP is yet not available in countries like Iran and Egypt, and only partially available in Nigeria (e.g., not supported at the German embassy in Abuja). On the other hand, students applying from countries like Bangladesh, Ghana, India, Mexico, Morocco, Pakistan, Taiwan, Tunisia, Türkiye, Vietnam can currently use the CSP for their student visa applications.
If you're planning to apply for a student visa for the winter semester 2026, and the CSP is available in your country, this step-by-step guide is your essential starting point.
We'll walk you through the full CSP application process - from account setup to booking your appointment. With VisaFlow, you'll complete your application faster, avoid mistakes, and be confident at every step.
Step 1: Create an Account in the Consular Services Portal (CSP)
Your first step is to access the official Consular Services Portal. This portal is used for all long-stay visa applications, including visas for study purposes.
What to Do:
- Click on "Register" to create your account
- Use a valid email address
- Set a secure password
- Verify your email and log in
VisaFlow Tip: Save your credentials securely. You’ll need frequent access to your CSP account throughout the process.
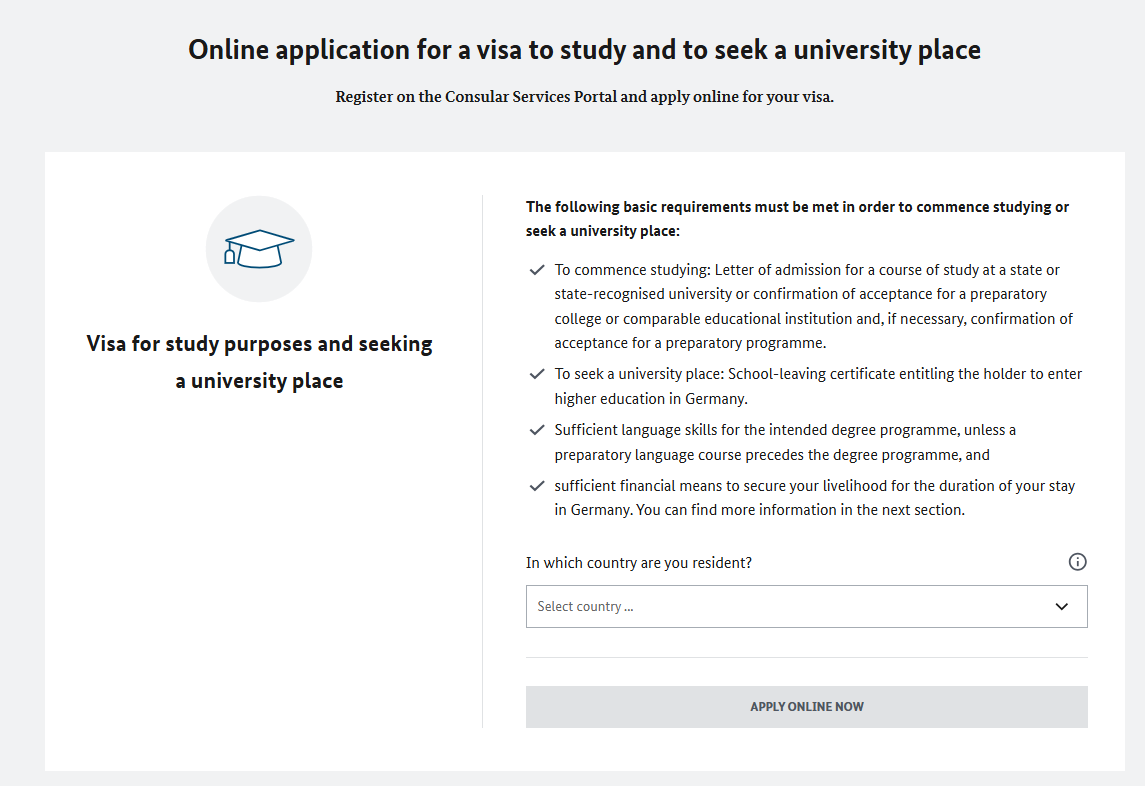
Step 2: Select “Visa for Study Purposes”
When logged into the CSP dashboard, select your visa type: "Visa for Study Purposes".
This choice customizes the rest of your application flow, showing you only the forms and document requirements needed for a student visa.
Step 3: Complete the CSP Questionnaire
Next, you’ll answer a set of questions about your study program, personal situation, and travel plans. This determines your document list displayed in the CSP.
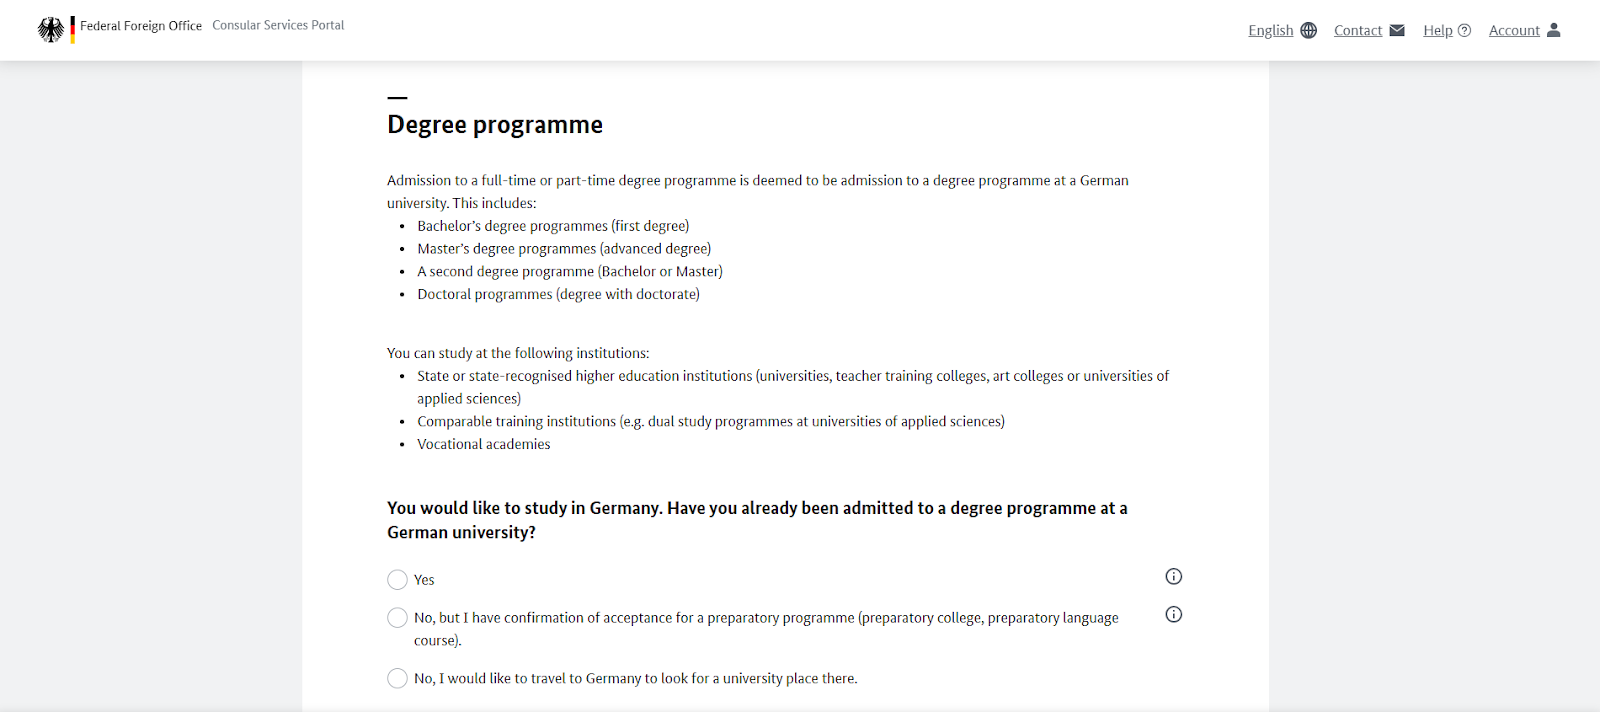
What You’ll Be Asked:
- Details about your degree program and admission requirements
- Language Proficiency
- Financial Support
Step 4: Fill Out the VIDEX Form (The Right Way)
The VIDEX form is the core visa application document. You'll fill it out directly through the CSP or upload a completed copy.
This form asks for:
- Personal data (passport, date of birth, marital status)
- Information about your studies
- Place of stay and reference in Germany
- Financial support and travel history
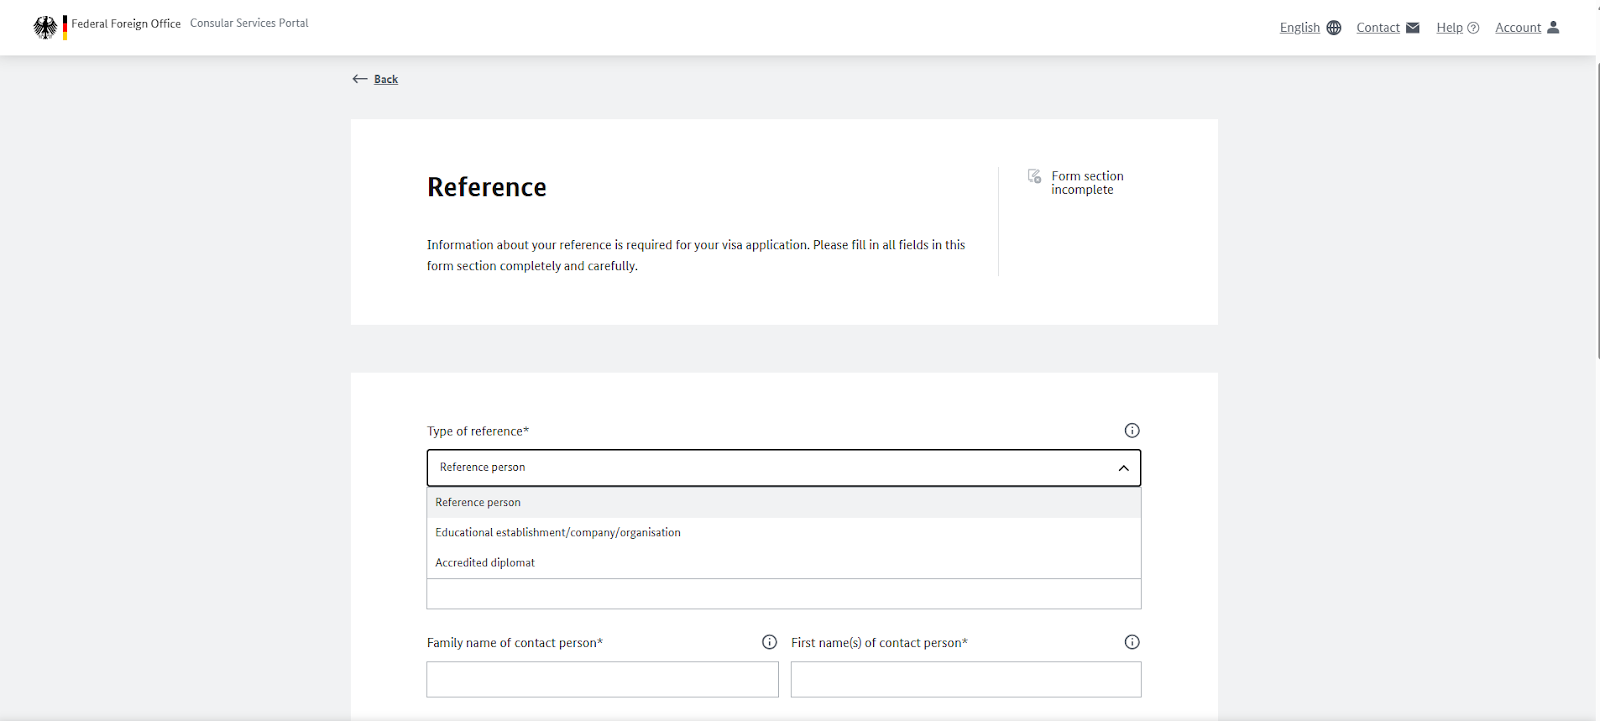
Common VIDEX Problems (Solved by VisaFlow)
- Students often struggle with:
- Address fields for Germany (where they don't yet have accommodation)
- "Reference person" or "organisation" sections (what exactly to enter for the university)
- Occupation and education fields
VisaFlow can guide you through every field, making sure your VIDEX is filled in error-free. We help you:
- Choose the correct reference type
- Fill in your university info properly
- Avoid mismatches that lead to rejections
Step 5: Upload All Required Supporting Documents
Once your VIDEX form is complete, it’s time to upload your supporting documents.
General Document Checklist for Student Visa Applicants:
VisaFlow provides exact formats and guides for each of the following:
- Passport – Valid and scanned clearly (all pages with stamps/visas)
- Letter of Admission from your German university
- Proof of Financial Means:
- Blocked account with at least €11,904 for 2025
- OR Verpflichtungserklärung (formal obligation letter)
- OR Scholarship confirmation
- Academic Certificates (transcripts, diplomas)
- Language Certificates
- Anabin Recognition of your degree (if applicable)
- Motivation Letter (VisaFlow offers expert review)
- CV in tabular format (VisaFlow can help here too)
- Health Insurance Confirmation
- Any other supporting documents mentioned by the CSP

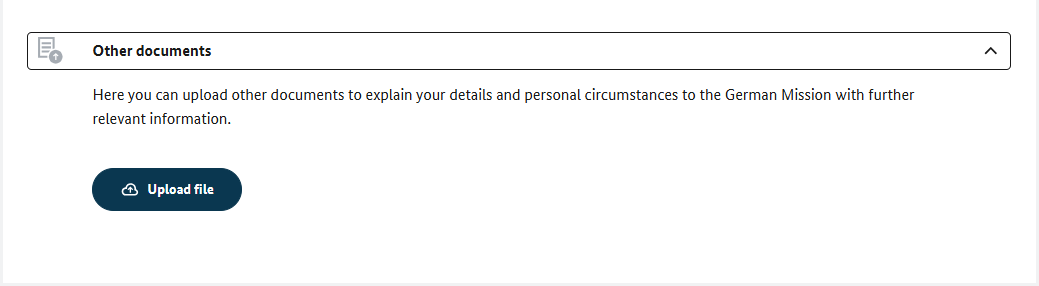
How to Upload:
- Go to "Upload Documents" in your CSP dashboard
- Match each document to its correct category
- Upload clearly scanned, correctly formatted files (PDF, under size limits)
- Use the "Other Documents" section for anything extra
Step 6: Submit Your Application for Preliminary Review (Pre-Check)
Once all documents are uploaded and verified, click "Submit Application".
Your documents will now undergo a pre-check by your local embassy or outsourced service provider like VFS Global, BLS International or Visametric.
What Happens in the Pre-Check?
- The embassy checks that your application is complete and correct
- If anything is missing, you'll get a notification in the CSP
- You can then correct the application and resubmit the missing documents
Typical duration:
- Usually within 1 week
- May take up to 1 month depending on embassy workload
Correction Deadline:
- Embassies usually give you 2–3 weeks to upload missing documents
Why VisaFlow? Our guided workflow ensures you're ready before you submit, so you avoid delays during pre-check.
Step 7: Book Your Visa Appointment
After the pre-check, the CSP will generate a link to book your appointment.
Depending on your country of residence, you will:
- Book directly with the embassy or consulate
- Or via external providers like:
What to Do:
- Follow the link provided in the CSP
- Choose a suitable time and location
- Download the booking confirmation/receipt
- Upload the receipt into the CSP
⚠️ Heads up: Some countries have waitlists even for the pre-check, not just the appointment.
VisaFlow Advantage: Start early! Our process is designed to let you complete everything ahead of time so you're first in line.
Step 8: Prepare for Your Visa Interview
Your final step is the in-person visa appointment.
What Happens at the Appointment:
- You must appear in person at the selected mission
- Bring originals of all submitted documents
- Provide biometric data (photo + fingerprints)
- Participate in a short visa interview
Interview Topics May Include:
- Why you chose your university/program
- How you will finance your studies
- Your long-term plans (do you intend to return home?)
VisaFlow Helps You Prepare: We provide interview prep tips and simulate common questions so you’re confident and ready.
Bonus Tips: How to Speed Up the Entire Process
- Start early: Prepare your documents before your admission letter arrives
- Use VisaFlow: Our workflow helps you find all the right information in one place and check documents in advance
- Submit clean, compliant files: Rejected uploads waste time
When should I start my Consular Services Portal application for Winter Semester 2026?
As soon as you receive your admission or a "Conditional Admission Letter." Aim to submit your digital docs by May or June 2026. From registration to interview, the full process may take 4 to 8 weeks. This depends heavily on the embassy workload and how complete your documents are.
What if I don’t have a German address yet?
This is a common issue in the VIDEX form. VisaFlow provides guidance on how to answer this correctly so your application runs smoothly.
Can I still appeal if my digital application is rejected?
No, as of 1st July 2025, the internal 'Remonstration' appeal is no longer available. If rejected, you must typically re-apply and pay the fee again, which highlights the importance of preparing your application with care to prevent errors. VisaFlow can help you with this.

.webp)
%20(1).webp)